share this post:

Note: This post may contain affiliate links, meaning that if you make a purchase after clicking on my link I may make a small commission at absolutely no cost to you. These are tools that I use and LOVE.
It has been A JOURNEY with this dang hutch guys. If you follow along on Instagram stories you already know this run down…but if you’re just joining us here, allow me to break it down for ya.
I was walking through Goodwill one day looking for hidden treasure, obviously, and I came across this hutch for $60. I was so in love with it but I wasn’t looking to take on a new project and it’s not what I was shopping for, so I walked away.
2 days later I was still thinking about it so I ran back and snagged it (I don’t know how it was still available honestly). I originally planned to just use it as-is and change out the hardware. But once I got it in my house with all my white and light wood floors, it looked a whole lot darker and had an orange undertone I wasn’t loving.
At this point, Cam is rolling his eyes at me because he KNEW it was going to turn into a project. Oops. #NotSorry
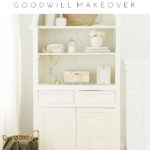
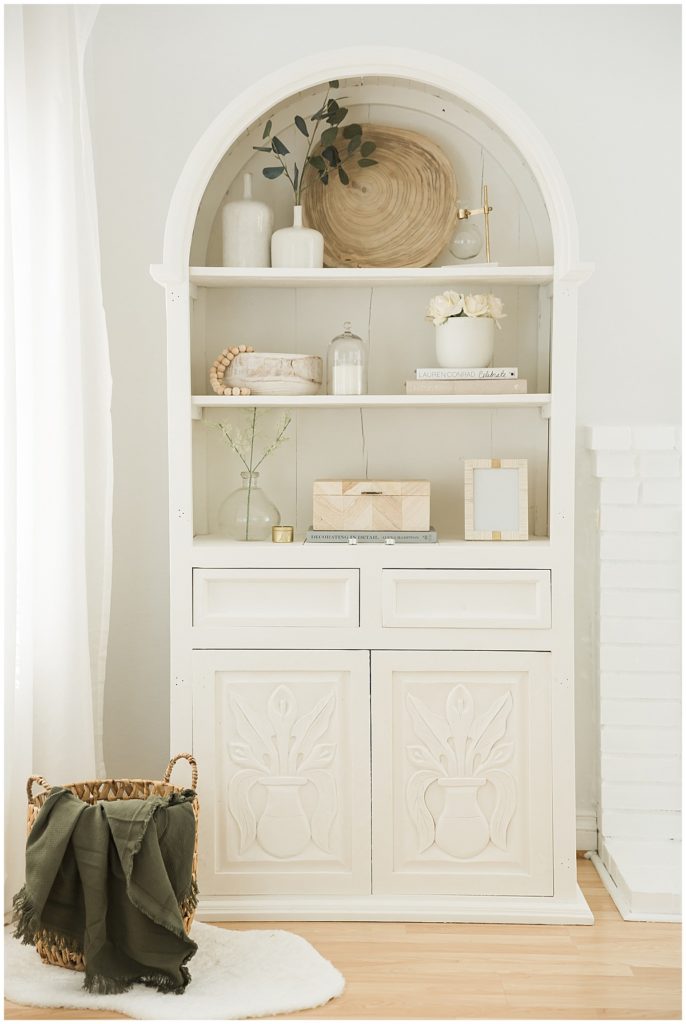
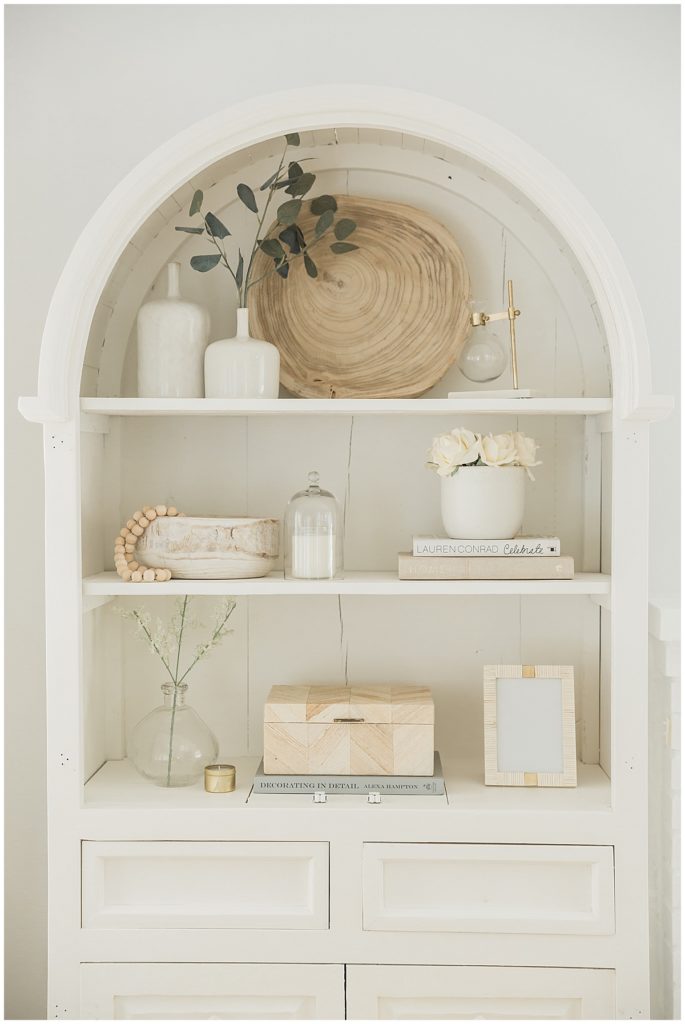
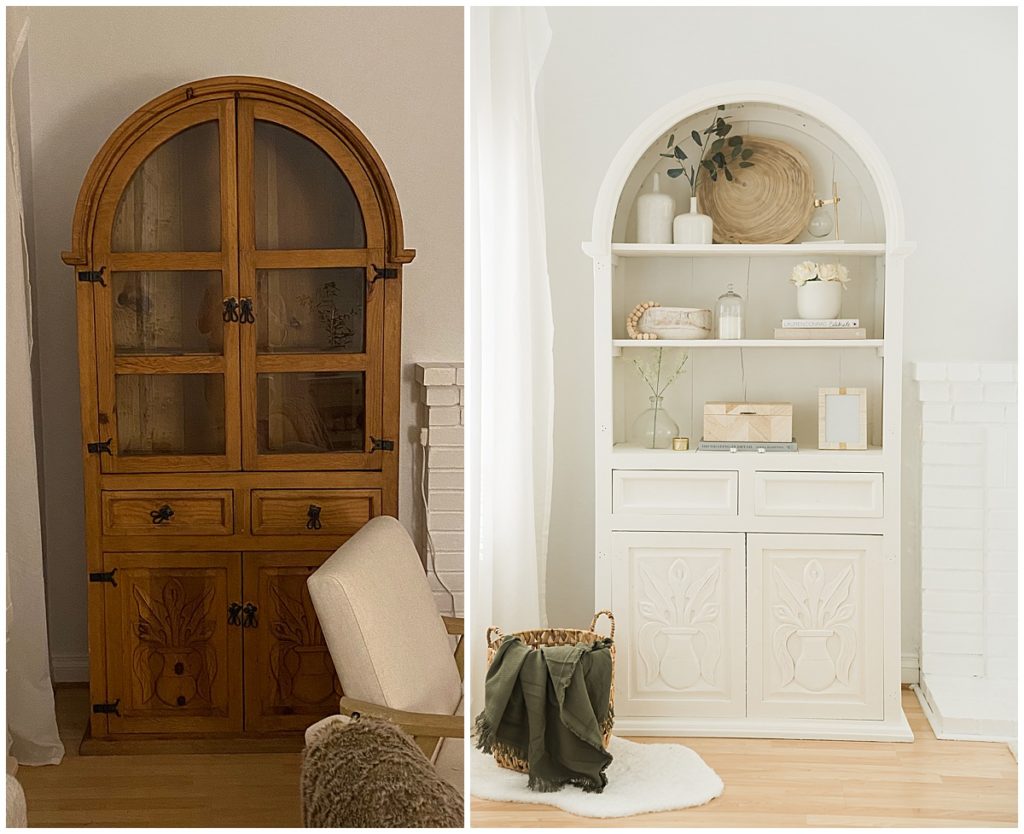
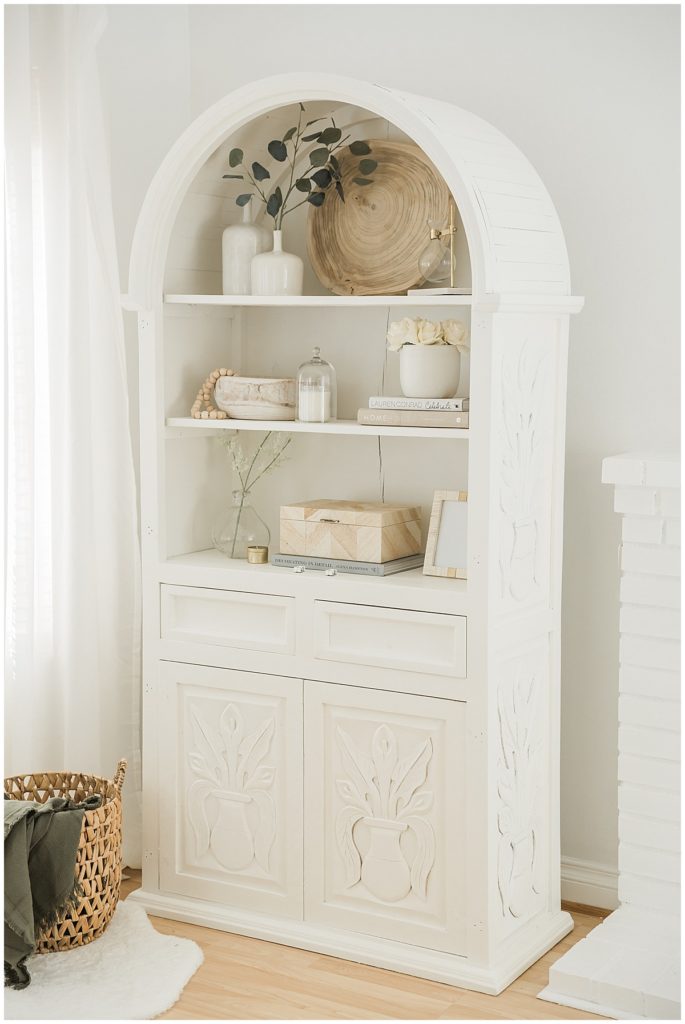
First we attempted to strip it down to a lighter, more natural wood. After days of working on it, I decided that it just wasn’t going to be a good natural wood piece. It was coming out blotchy and uneven and it would have always bothered me. So I finally decided to go with paint. I don’t know why I ever choose anything else because good ole Benjamin Moore – White Cloud never lets me down! I mean, just look at that before & after guys…
Once we decided to paint it, everything got a lot more simple and a heck of a lot easier! Here’s a little step by step and a list of products we used:
- Remove all hinges, doors, hardware and drawers
- Lay out a tarp over your working area. I learned the hard way not to use plastic because the paint sticks to it and it gets messy and ruins a project quickly. I recommend paper or literally anything but plastic.
- We use this Wagner paint sprayer for all of our projects and the amount of time it saves makes it worth every single penny guys. Set up your paint sprayer and start sprayin’! (If you’re not using a sprayer, skip to the next step)
- If you’re using brushes for your project, nothing changes much. Just cover your surface with the paint of your choice, let it dry, add a second coat, let it dry.
- Once the entire project dries, layer two coats of this polyurethane to protect it from scratching, water, etc.
- Replace hardware and DONE.
After choosing a paint, the entire project took me 2 days from start to finish!
Truthfully, there’s not a whole lot you can do wrong when painting wood furniture. If you’re scared you might mess it up, start with something small. But learning by doing is the best way when it comes to DIY. I say go for it!
Have a question about your own DIY? Happy to answer it! Don’t forget to pin this for later!


i'd love to hear them!
have some thoughts?