share this post:


Note: This post may contain affiliate links, meaning that if you make a purchase after clicking on my link I may make a small commission at absolutely no cost to you. These are tools that I use and LOVE.
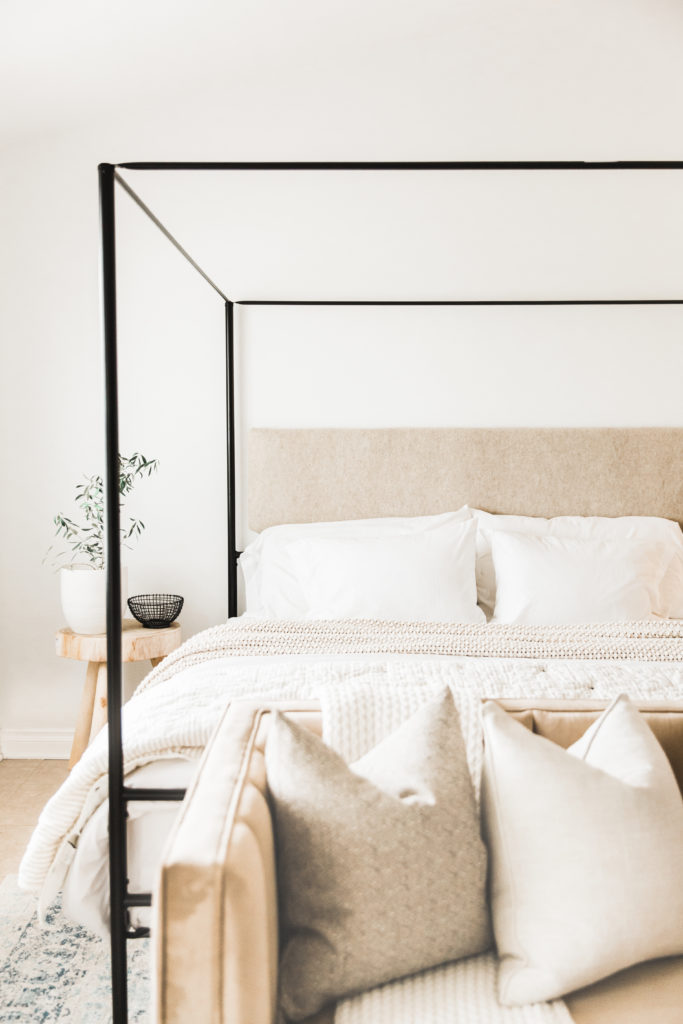
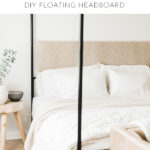
Have you seen our new master bed? It’s a black canopy bed and I’m 100% in love. Check it out here!
Once we put the bed together, I knew I was going to want to add a cushioned headboard for support and to fill some of the blank space above the pillows. I’d seen some people do floating headboards or DIY bench cushions before so I figured I’d give it a whirl. Here goes nothing…
Step 1
Measure the space.
The first thing I did was decide how big we wanted to make the headboard. I made the bed how I normally would and then measured how high I wanted to fill space and how wide.
Step 2
Grab your supplies!
Once we had the measurements we headed to the craft store + the hardware store to pick up the supplies. Here’s what you’ll need:
- 1″ foam in whatever size you’ve chosen or larger and cut down
- Quilt batting in double to appropriate size so it can be folded over and doubled
- Fabric in your preferred texture and color. The size you need plus a few inches on each side for wrapping.
- Staple gun + staples
- 3M picture hanging strips
- a sheet of the cheapest wood you can find at Home Depot, cut down to your measured size. They will cut it for you if you ask!
Step 3
Putting it together.
Putting this things together is the easiest part of the whole process and takes literally 5-10 minutes! Here’s a rundown :
- Place your foam on top of your wood sheet. Cut off any extra foam so it’s exactly the same size as the wood.
- Take your double layer of quilt batting and lay it over the foam. Flip the wood sheet, foam, and batting over all together and use your staple gun to secure the batting to the back of the wood, pulling it tight as you go.
- Steam or iron your fabric so it’s wrinkle free and place it over the front of your board. Flip it all over and staple it to the back, pulling it tight as you go.
- DONE!
STEP 4
Putting it on the wall
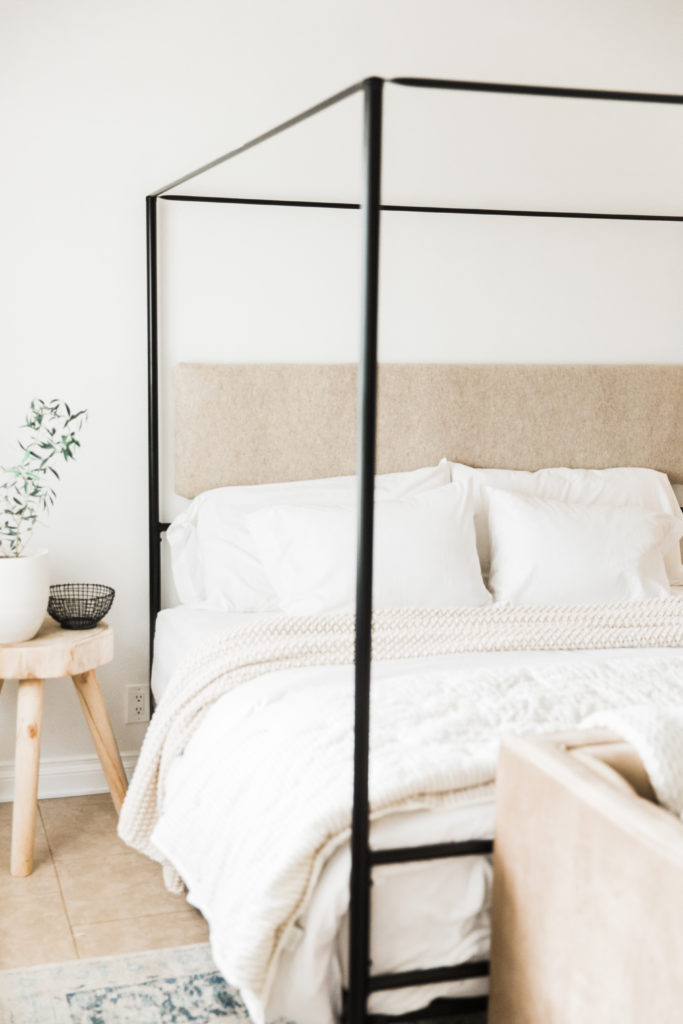
We secured our floating headboard to the wall above our bed using 3M command picture hanging strips! It seemed so much easier than attaching hardware and screwing into the wall…and it was!
I decided to add a 2 in tall piece of wood to the four corner of our headboard because our fabric and batting was pretty thick and I wanted to give the strips something good to cling to. The wood blocks acted as a buffer between the headboard and the wall where the strips would really get pressed on. I nailed them in to the four corners, attached 2 strips to each block and stuck it right on the wall. Make sure you have someone to help with this part so you hang it level!
THAT’S IT! Seriously, this was so cheap, so easy, I can’t recommend it enough!! Let me know what you think and make sure to Pin this for later!
SHOP THE POST


i'd love to hear them!
have some thoughts?